How to Screenshot on Mac: A Comprehensive Guide
If you're a Mac user, you might know how easy it is to take screenshots on your computer using keyboard shortcuts or built-in apps. But did you know that there are many more ways to capture your screen on a Mac, including taking screenshots of specific windows, menus, or even entire sections of your screen? In this article, we'll show you how to take screenshots on Mac using various methods, including keyboard shortcuts, the built-in Screenshot app, and more.Why Take Screenshots on Mac?
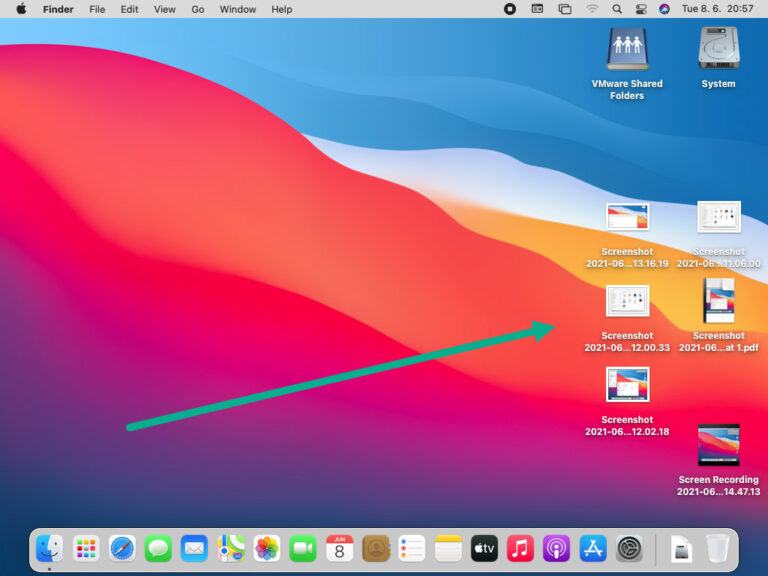
Before we dive into the nitty-gritty of taking screenshots on your Mac, let's talk about why it's so useful. Screenshots are a quick and easy way to capture information on your screen, whether you need to share a picture of a web page, a funny meme, or a troubleshooting guide. By taking a screenshot, you can save it to your computer or share it with others instantly.Method 1: Using Keyboard Shortcuts
One of the most convenient ways to take a screenshot on a Mac is by using keyboard shortcuts. Here are the common shortcuts to know: * **Capture the entire screen:** Command + Shift + 3. Pressing these keys together will capture the entire screen, including the menu bar. * **Capture a portion of the screen:** Command + Shift + 4. This shortcut allows you to capture a specific area of the screen by dragging your mouse. * **Capture a window or menu:** Command + Shift + 4, then press the Spacebar and click on the window or menu. * **Capture using the Screenshot app:** Command + Shift + 5. This will open the Screenshot app, which offers more options, including screen recording and delayed captures.Method 2: Using the Screenshot App