How to Set Up Wi-Fi on Desktop: A Comprehensive Guide
Are you wondering how to set up Wi-Fi on your desktop? Whether you're a novice or an experienced user, setting up a wireless network can seem like a daunting task. Don't worry, we've got you covered. In this comprehensive guide, we'll walk you through the step-by-step process of setting up Wi-Fi on your desktop.Before You Begin
Before we dive into the setup process, there are a few things you need to consider: * **Modem and Internet Connection**: Make sure you have a stable and fast internet connection. You can check with your internet service provider for the best plan. * **Wireless Router**: Ensure that your wireless router is compatible with your operating system and meets the minimum requirements. * **Operating System**: Familiarize yourself with your operating system's settings and requirements for setting up Wi-Fi.Step 1: Gather Necessary Information
Before you begin, gather the following information: * **Wi-Fi Network Name (SSID)**: Obtain the SSID from your internet service provider or the router's documentation. * **Wi-Fi Network Password**: Get the password for your Wi-Fi network from your internet service provider or the router's documentation. * **Router's IP Address**: Check your router's documentation or find it online to know its IP address.Step 2: Connect Your Computer to the Router
To connect your computer to the router, follow these steps:- Connect the router to your computer using an Ethernet cable.
- Open your web browser and type the router's IP address in the address bar.
- Press Enter to access the router's settings page.
- Log in to the router using the admin username and password (usually printed on the router or in the documentation).
Step 3: Configure the Wi-Fi Settings
- Click on the Wi-Fi settings option, usually found in the Advanced or Wireless Settings section.
- Choose the Wi-Fi network name (SSID) and enter the password from your internet service provider or the router's documentation.
- Save the changes and restart your router to ensure the changes take effect.
Step 4: Connect to the Wi-Fi Network
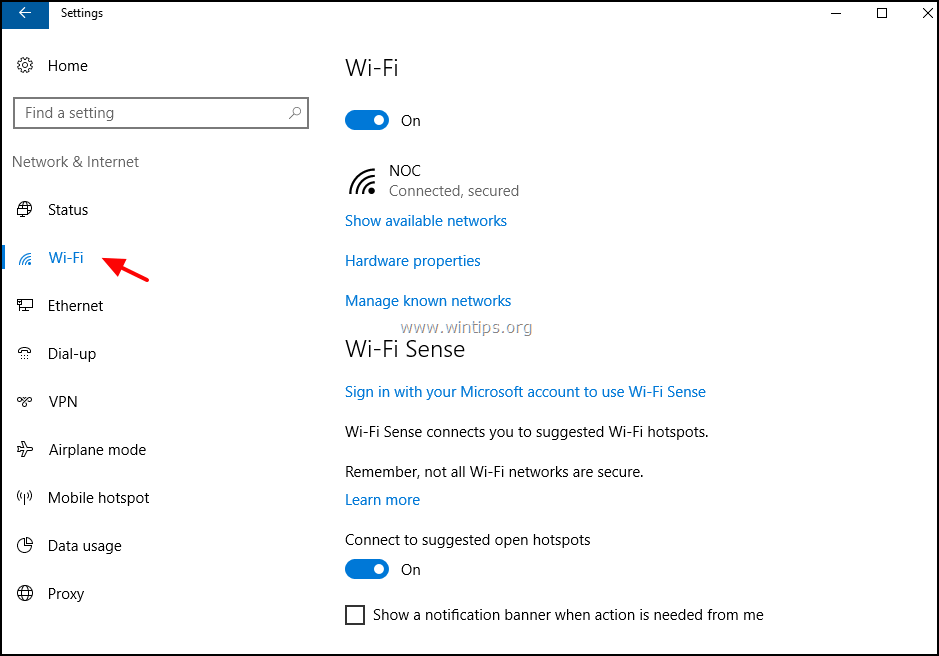
To connect to the Wi-Fi network, follow these steps:- Click on the Wi-Fi icon in the system tray or launcher to access the available networks.
- Choose your Wi-Fi network name (SSID) and enter the password.
- Click Connect to establish a connection to the network.
Step 5: Troubleshoot Issues (If Any)
If you encounter any issues during the setup process, follow these troubleshooting steps:- Restart your router and modem to ensure a stable connection.
- Check for firmware updates and install the latest version.
- Reset your router to its factory settings and set it up again from scratch.


:max_bytes(150000):strip_icc()/002-3631dcf0e61c42ada1cf36f602257ee7.jpg "How to Connect WiFi Network in Desktop Computer 2025 (Only Way)")


:max_bytes(150000):strip_icc()/006-6326691377e8434c9de2a3cb5b28febc.jpg "How to Set Up UniFi - Ubiquiti Help Center")


 - HP")

