Using Clippers on a Dog's Head and Ears at Home: A Step-by-Step Guide
As a dog owner, you may be considering trimming your dog's coat at home to save time and money. However, using clippers on a dog's head and ears can be a daunting task, especially for beginners. But with the right tools, techniques, and guidance, you can achieve professional-looking results at home.
Choosing the Right Clippers
When it comes to choosing the right clippers for your dog, there are several factors to consider. Look for clippers specifically designed for animal use, as they are typically quieter and more powerful than human clippers. A good quality clipper with multiple blade sizes is essential for achieving a smooth, even cut. Some popular brands for dog clippers include Oster, Andis, and Wahl.
Step 1: Prepare Your Dog for Grooming
Before you start grooming your dog, it's essential to prepare them for the process. Brush your dog's coat to remove any tangles or mats, and trim any long hair around the ears and eyes. This will help prevent any accidents or discomfort during the grooming process.
Step 2: Gather Your Tools andSafety Precautions
Make sure you have all the necessary tools and safety precautions in place before starting the grooming process. These include:
- An electric clipper (preferably with a No. 40 blade) specifically designed for animal use
- A nail clipper and styptic powder in case your dog bleeds during the grooming process
- A dog comb or brush to help reduce shedding and prevent matting
- Ear powder and a hemostat to remove any nuisance hairs from the ears
- Protection for your ears to avoid any potential damage from the clippers
Step 3: Clip the Head and Ears
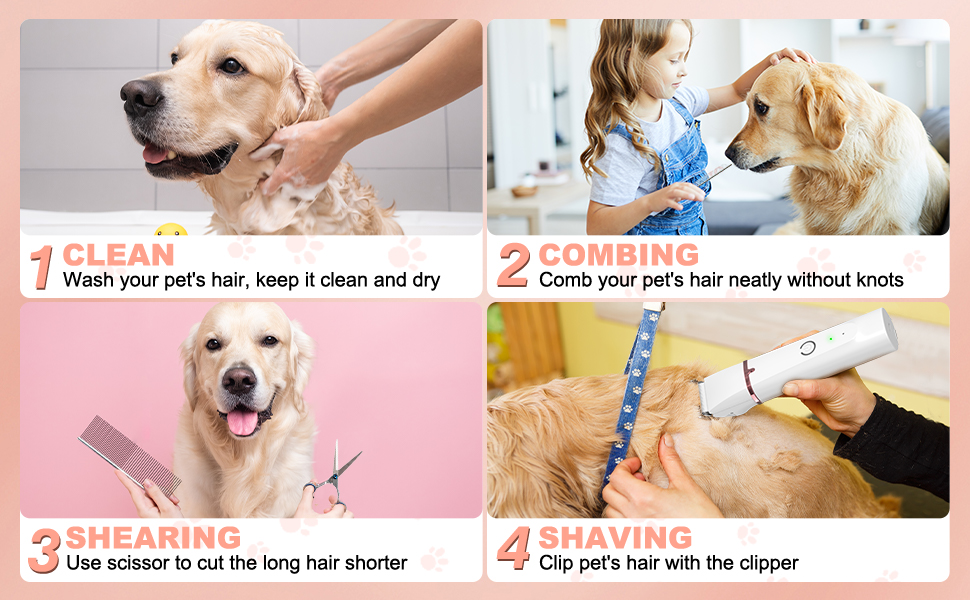
Starting at the head, shave the sides and nose in quick, even strokes using the No. 40 blade clippers. It's essential to clip in the direction of hair growth, not against it. Take your time and be patient, as the clippers can be quite loud and may cause some discomfort for your dog.
When trimming the ears, use a smaller blade (such as a No. 30 or No. 15) and take care not to cut too close to the ear canal. It's also essential to clean the ears before trimming to make hair removal easier.
Step 4: Trim the Neckline and Chin
Using the same No. 40 blade clippers, trim the neckline and chin area in smooth, even strokes. Be careful not to cut too close to the neck or chin, as this can cause discomfort and potentially lead to bleeding.
Step 5: Finishing Touches
Once you've finished trimming the head and ears, take a step back and evaluate your dog's overall appearance. Make any necessary adjustments to achieve a smooth, even cut.
Conclusion
Using clippers on a dog's head and ears at home can seem intimidating, but with the right tools, techniques, and guidance, you can achieve professional-looking results. Remember to always prioritize your dog's comfort and well-being, and if you're unsure or uncomfortable with any aspect of the grooming process, it's always best to consult a professional groomer.


