Twitch Streaming Setup for iPhone: A Beginner's Guide
Are you eager to share your gaming experiences or other live content with the world on Twitch? With the right equipment and knowledge, you can start streaming on Twitch directly from your iPhone or iPad. In this article, we will take you through the process of setting up a Twitch streaming setup on your iPhone, covering the necessary components, setup, and tips to achieve a high-quality stream.
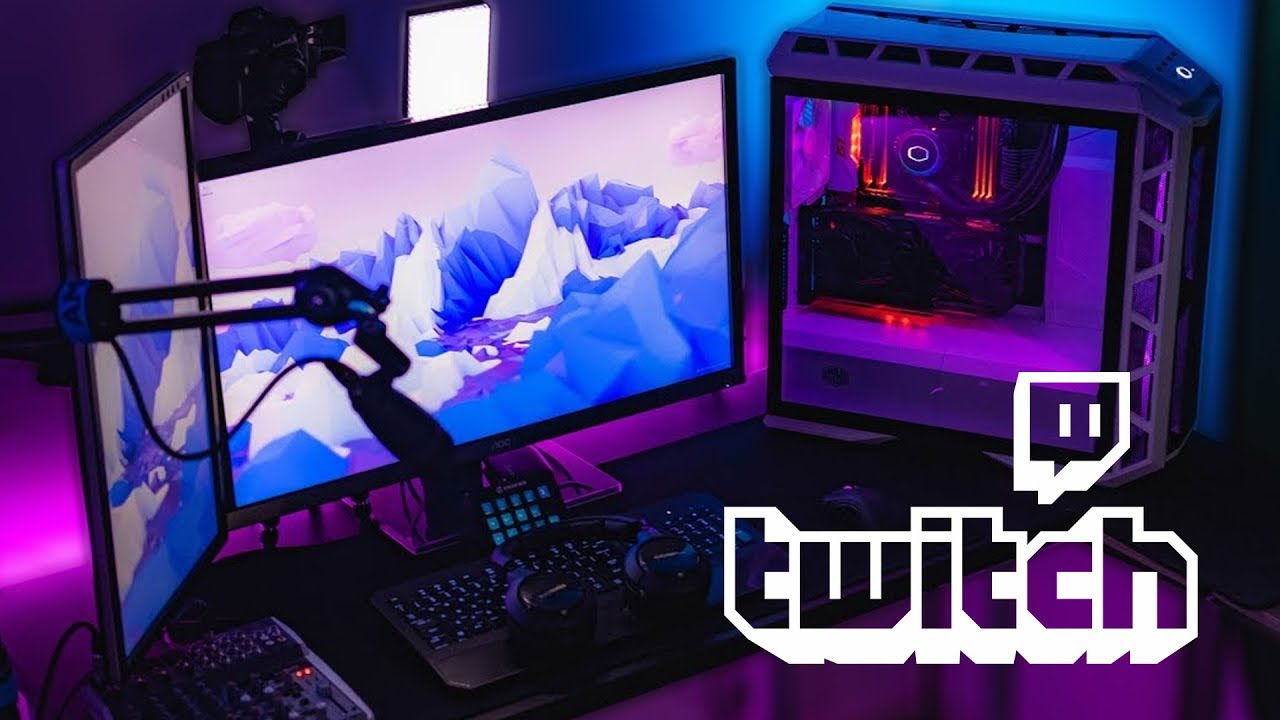
Components Needed for Twitch Streaming Setup on iPhone
To stream on Twitch from your iPhone, you'll need a few essential components:
- iPhone or iPad with a stable internet connection
- iOS 14 or later version for a smoother streaming experience
- Third-party streaming app like Streamlabs, Moblin, or Prism Live
- A good-quality camera lens or a secondary camera for a better video feed
- A Bluetooth headset or external microphone for crisp audio
- Optional: External speaker and monitor for monitoring audio and quality
Setting Up Your iPhone for Twitch Streaming
Before starting your Twitch streaming journey, ensure your iPhone is updated to the latest iOS version and that you're comfortable using your mobile device as a webcam. The steps below will guide you through the process of setting up your iPhone for Twitch streaming:
Step 1: Choose a Streaming App
There are several mobile apps available for creating and broadcasting content to Twitch. Some popular options include Streamlabs, Moblin, and Prism Live. Research each app, reading reviews and comparing features to find the one that suits your streaming needs.
Step 2: Connect Your Account to Twitch
Streamlabs and other apps require an active Twitch account to function. Create or sign in to your existing Twitch account if you haven't already. Follow the necessary steps to connect your account to the mobile streaming app.
Step 3: Customize Your Camera and Audio Settings
Adjust your iPhone's camera settings by going to Settings > Camera, where you can switch between the camera lenses or use a secondary camera for a wider field of view. Adjust your audio settings by selecting your Bluetooth headset or external microphone in your streaming app.
Step 4: Set Up Your External Camera or Lens (Optional)
Consider investing in a high-quality camera lens or external camera for improved video quality. These devices enhance your virtual field of view and can be easily attached to your iPhone or adapter.
Step 5: Test Your Equipment and Stream Settings
Before you start broadcasting, ensure you're pleased with your overall setup, including camera angles, audio quality, and video feed stability. Conduct a test run to identify any necessary adjustments or modifications to optimize your streaming performance.
Step 6: Start Streaming on Twitch
Launch your chosen app, connect to your stream settings, and begin recording. To initiate your stream, simply tap the "Start Streaming" button. Make sure to configure your streaming resolution, frame rate, and bitrate within the app for a seamless transcoding experience.
Tips for a Smooth Twitch Streaming Experience on iPhone
Here are some expert-tested tips to improve your mobile streaming setup and maintain a professional streaming experience:
- Use a fast and stable internet connection for a smooth stream.
- Invest in a quality camera lens or external camera for better video feed quality.
- Invest in a good external microphone for crisp and clear audio.
- Position your iPhone for optimal camera angles, using a tripod for stability.
- Optimize your app settings according to platform requirements (Twitch, YouTube, Facebook Gaming, etc.).
- Stream in 1080p/60fps for videos on devices with Retina display for those communities or on games with highest importance.
- Test all equipment before streaming live.
- Offer compelling content to keep your audience engaged.
- Poll, emotes, and emtee forOverlays Add more to today for your best.


:max_bytes(150000):strip_icc()/A5-StreamonTwitch-annotated-af6a6beb257d44b78d5bb155b13c9e5d.jpg "Best Smartphones for Streaming in 2026 — Top Phones & Accessories")
 - YouTube")
")


