How to Create a Discord Server: A Step-by-Step Guide
Creating a Discord server is a straightforward process that allows you to build a community, whether it's for gaming, business, or personal interests. In this article, we will walk you through the process of creating a Discord account and setting up a new server, including customizing channels, adding bots, and managing permissions.
Getting Started with Discord
Discord is a quickly growing text and voice chat application aimed at gamers, but it's not just for gamers. Its sleek and simple design makes it an excellent alternative to apps like Teamspeak and Skype. You can download the Discord app on your web, desktop, or mobile device and get started for free.
Creating a Discord Account
Creating a Discord account is quick and easy. To get started, you'll need to:
- Download the Discord app on your device
- Click on "Register" and enter your username and email address
- Verify your account by clicking on the confirmation link sent to your email
- Add basic security information, such as a phone number or email address
Setting Up a New Server
Once you've created your account, you can start setting up a new server. To create a new server, follow these steps:
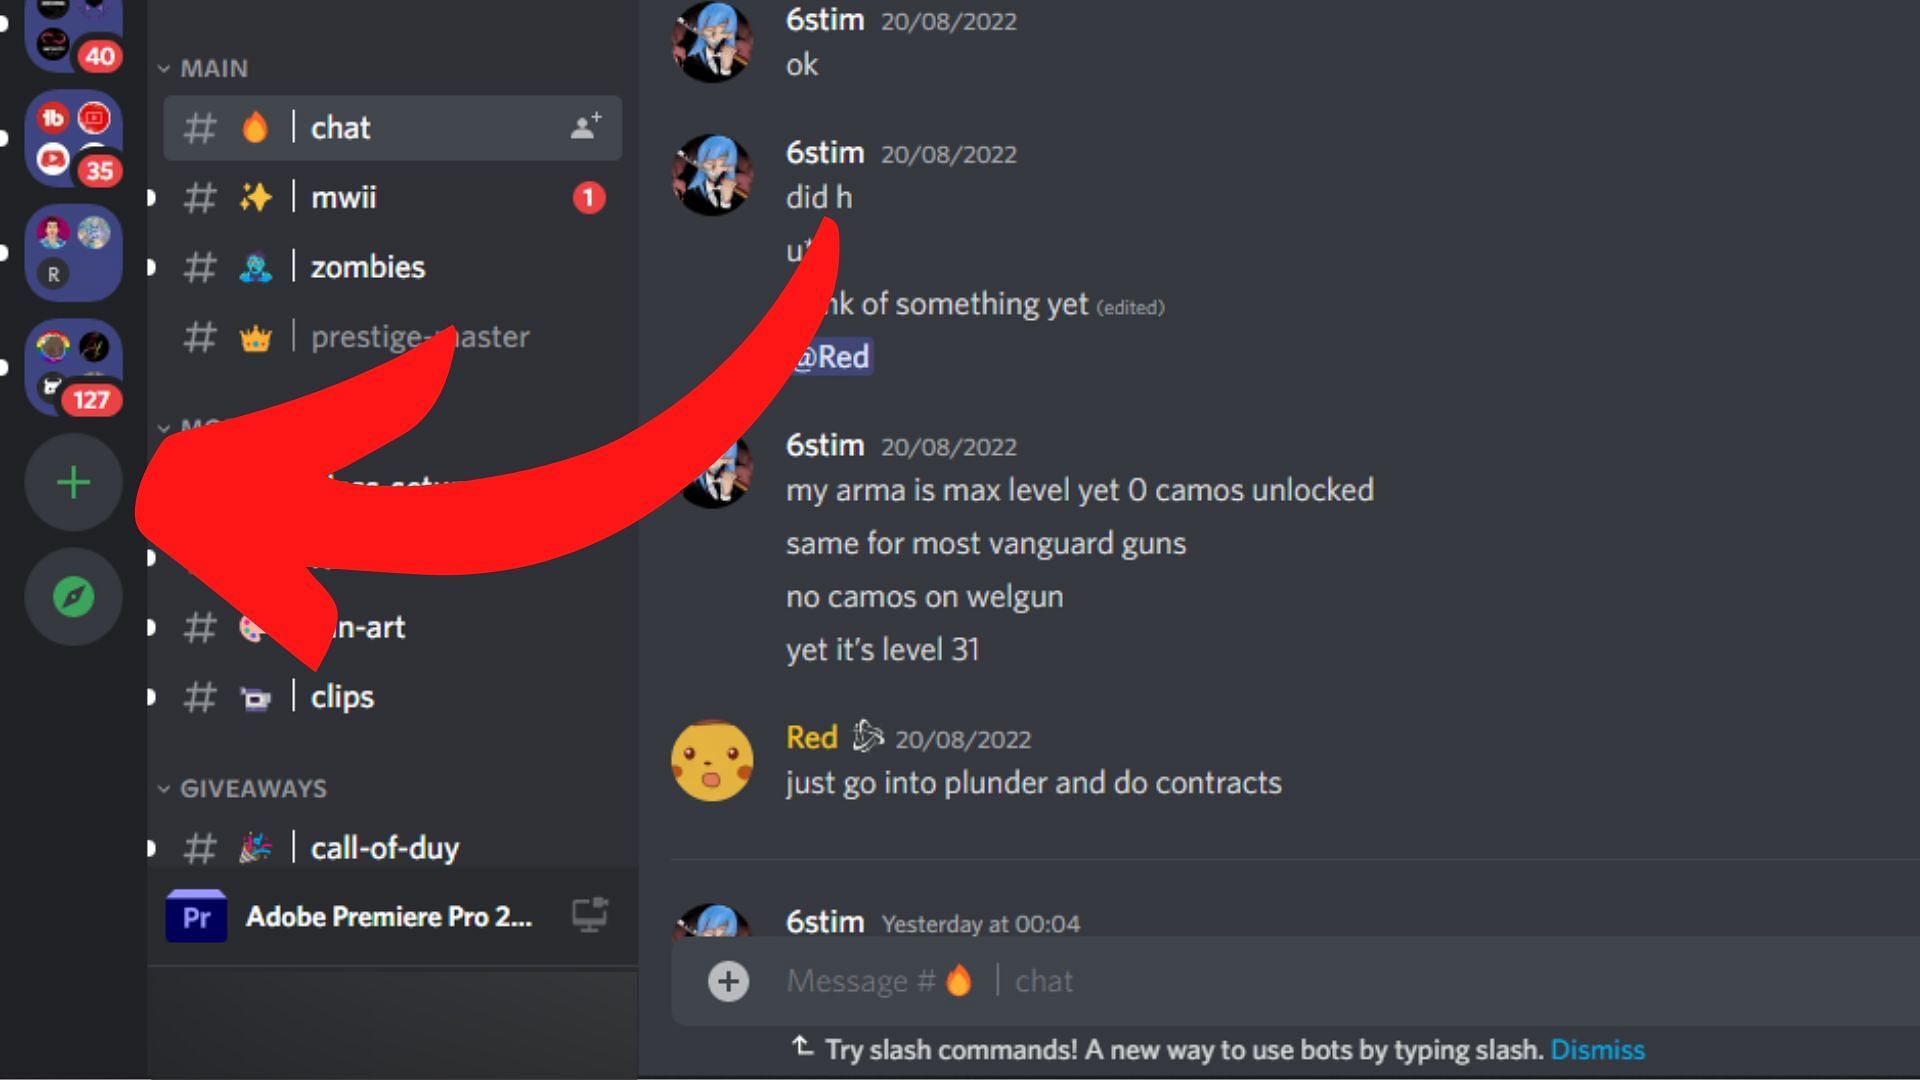
- Click on the "+" icon in the top-right corner of the Discord app
- Select "Create a New Server"
- Enter a name for your server and select the region where you're located
- Click on "Create" and you'll be taken to your new server
Customizing Your Server
Now that you've created your server, it's time to make it your own. You can customize your server by:
- Changing the server name and icon
- Creating channels and folders to organize your conversations
- Adding bots to help manage your server
- Setting up roles and permissions to control user access
Adding Bots to Your Server
Bots can be incredibly helpful in automating tasks and enhancing your server's functionality. To add a bot to your server, follow these steps:
- Click on the "+" icon in the top-right corner of the Discord app
- Search for the bot you want to add
- Click on the bot and select "Add" to add it to your server
Managing Permissions
Permissions are essential in Discord, as they allow you to control user access to different parts of your server. To manage permissions, follow these steps:
- Click on the server name and select "Server Settings"
- Click on "Roles" and select the role you want to edit
- Choose the permissions you want to assign to the role
Conclusion
Creating a Discord server is a simple yet powerful way to build a community. By following these step-by-step instructions, you can customize your channels, add bots, and manage permissions to create a unique and engaging community. Whether you're a gamer, entrepreneur, or just want to connect with friends, Discord has everything you need to get started.
Start Creating Your Discord Server Today
With these steps, you can create a Discord server that's tailored to your needs and goals. So why wait? Sign up for a Discord account and start creating your server today!


")
 - flat.social")


