Setup for Live Streaming on Twitch: A Beginner's Guide
Streaming on Twitch can be an exciting experience, but getting started can be overwhelming, especially for beginners. To ensure a successful and enjoyable live streaming experience on Twitch, you need to set up your equipment and software correctly. In this guide, we'll take you through the steps to setup for live streaming on Twitch.
Choosing Your Equipment
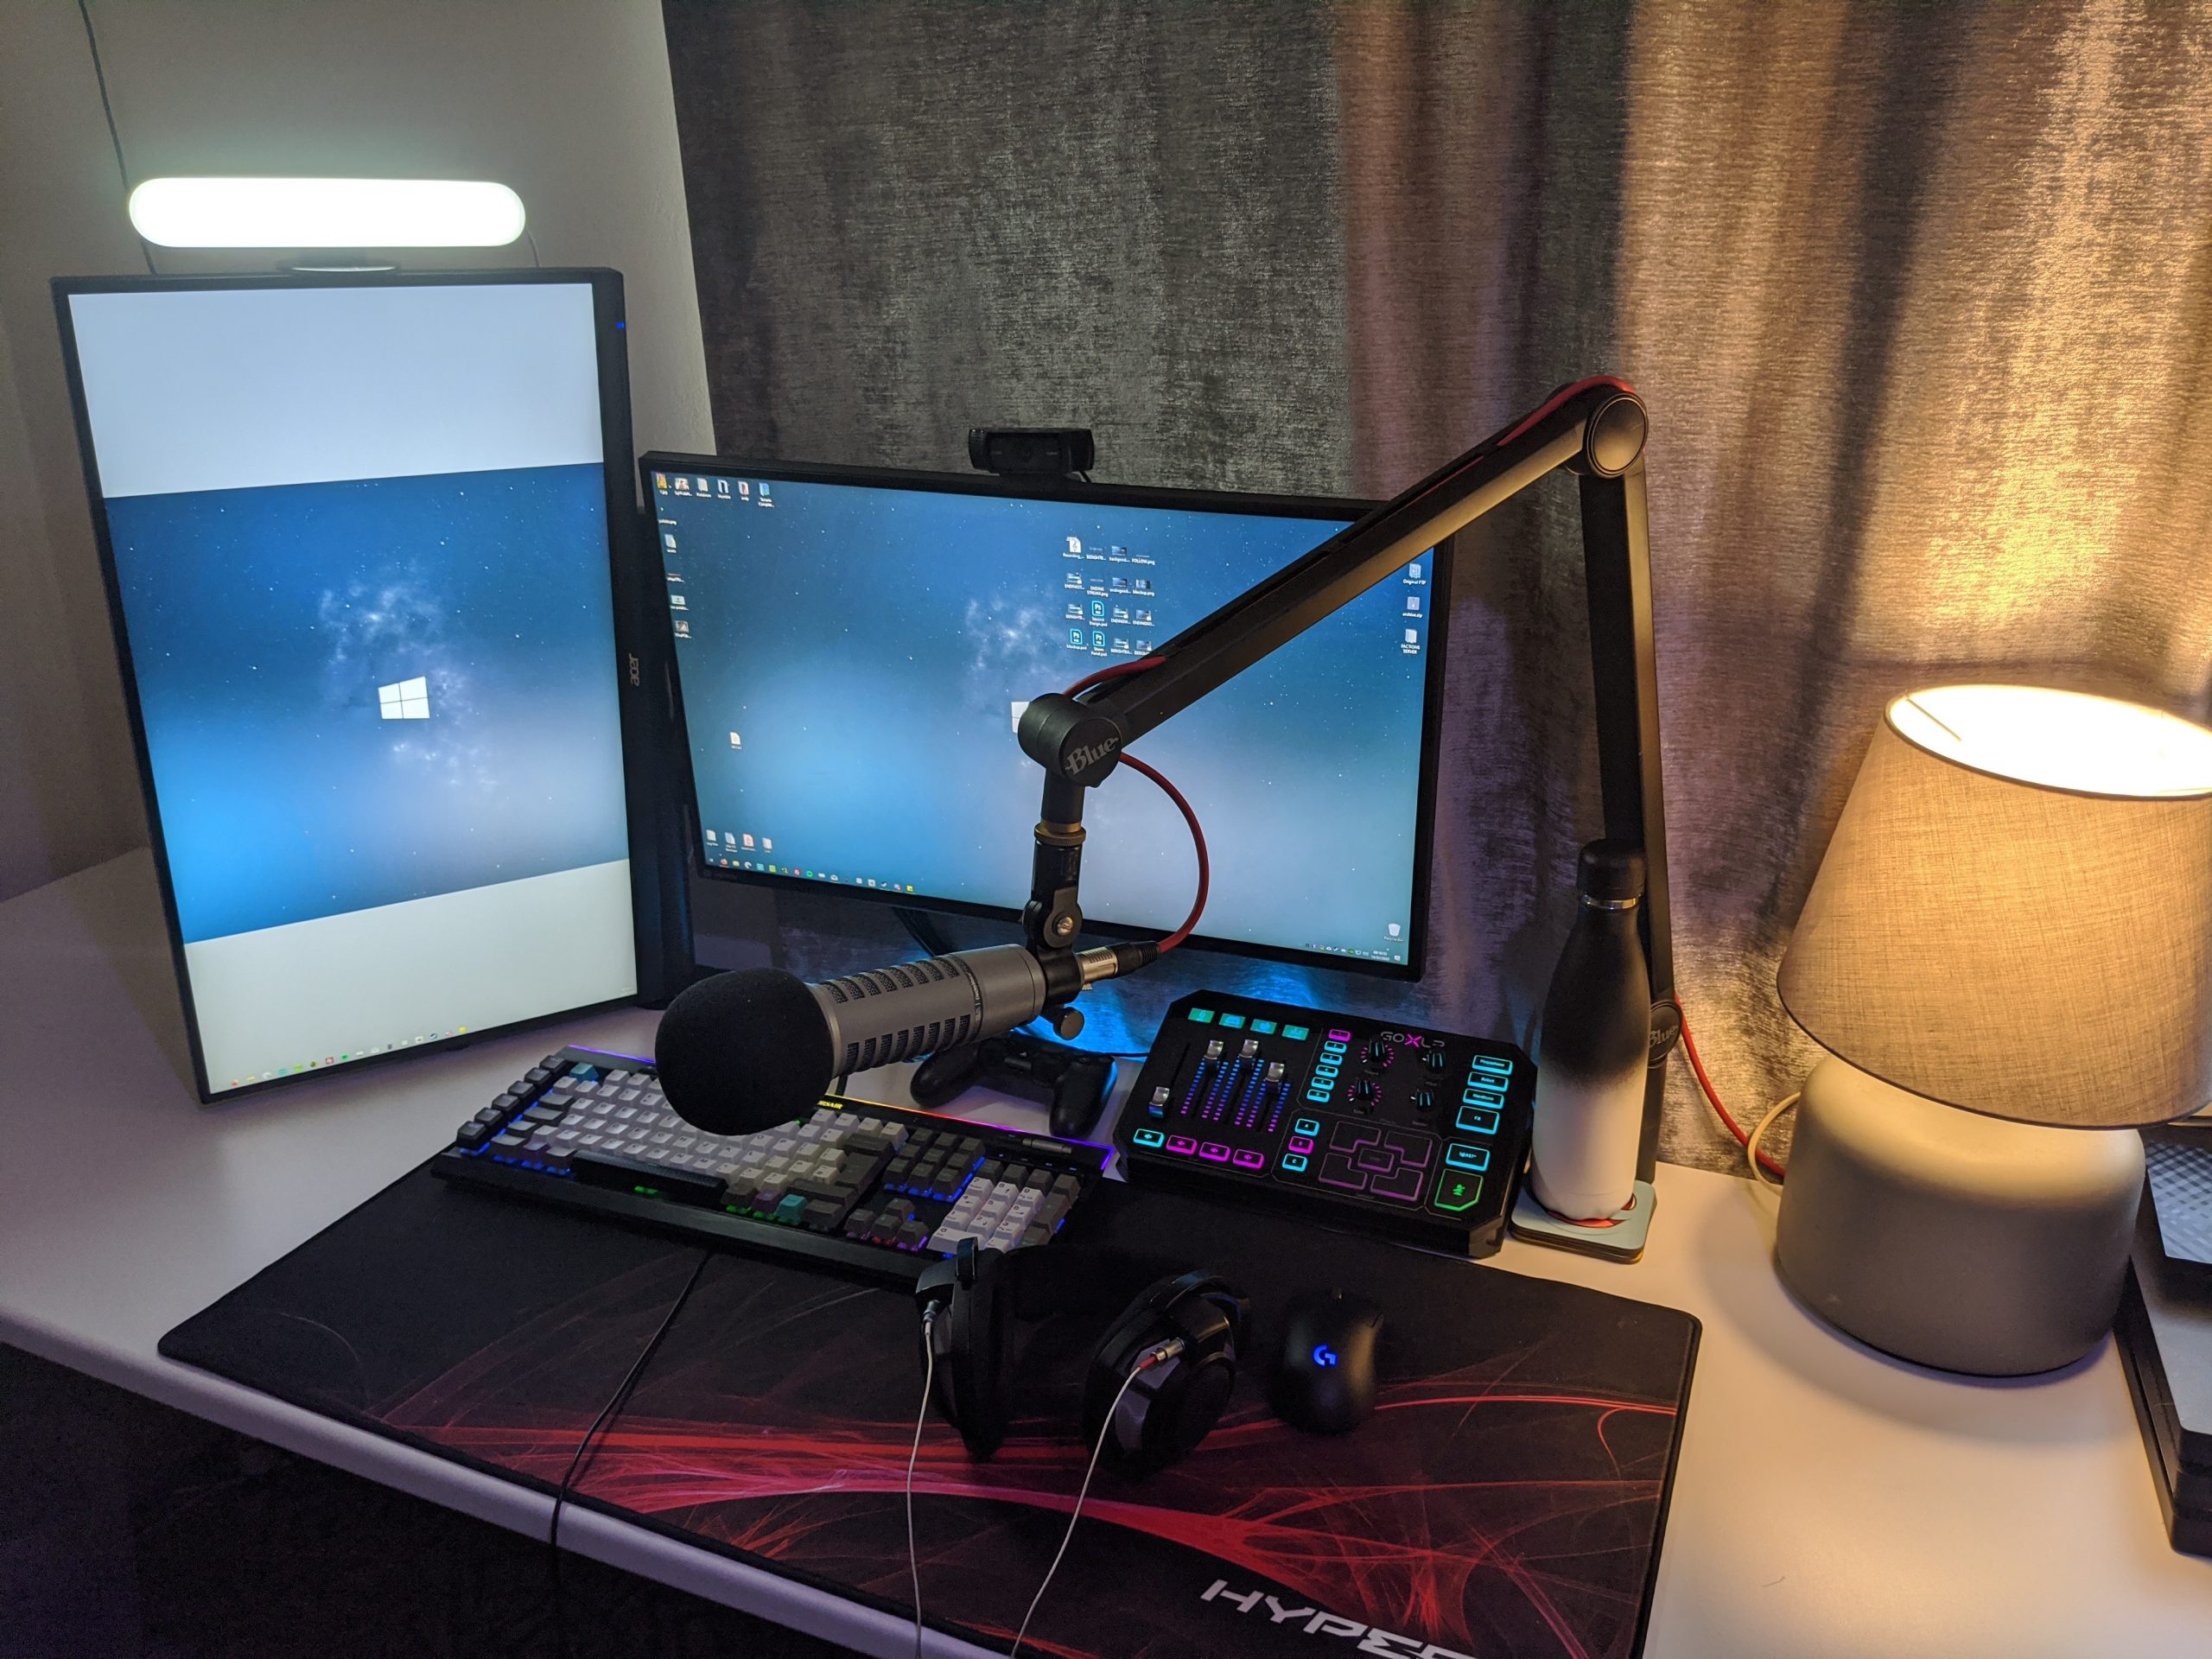
The first step in setting up for live streaming on Twitch is to choose your equipment. While expensive gear is not necessary, having the right equipment can improve the quality of your stream. Here are some essential pieces of equipment to consider:
- Webcam:** Choose a good quality webcam that can capture your face and surroundings. Popular webcams include Logitech C920 and Razer Kiyo.
- Microphone:** Invest in a good quality microphone that can capture clear audio. Popular microphones include Blue Yeti and Rode NT-USB.
- Lighting:** Good lighting is essential for a high-quality stream. Use natural light or invest in a lighting kit.
- Capture Card:** If you're using a console or a PC with a capture card, you'll need to choose one that can capture both your game and your webcam.
- Headphones:** Good quality headphones can help you focus on your stream and communicate with your audience effectively.
- Broadband Internet:** You'll need a fast and stable internet connection to stream smoothly.
Software Setup
Once you have your equipment, it's time to set up your software. You can use a mix of free and paid software to create a seamless streaming experience. Here are some popular options:
- Open Broadcasting Software (OBS):** OBS is a popular and free software that allows you to create professional-looking streams. You can customize your stream with themes, transitions, and overlays.
- Streamlabs OBS:** A popular alternative to OBS, Streamlabs OBS is a free software that offers a user-friendly interface and access to a wide range of themes and overlays.
- Twitch Studio:** A free software developed by Twitch, Twitch Studio offers a range of features, including automated alerts and a theme generator.
Setting Up OBS
Here's a step-by-step guide to set up OBS for live streaming on Twitch:
- Download and install OBS:** Download the OBS software from the official website and install it on your computer.
- Set up your stream settings:** Set up your stream settings, including your stream quality, bitrate, and resolution.
- Configure your audio settings:** Set up your audio settings, including your microphone and headphones.
- Customize your stream layout:** Customize your stream layout with themes, transitions, and overlays.
- Test your stream:** Test your stream to ensure it's working correctly.
Going Live
Once you've set up your equipment and software, it's time to go live! Here are some final tips:
- Test your stream before going live:** Make sure everything is working correctly before going live.
- Interact with your audience:** Engage with your audience and respond to comments and chat.
- Use high-quality content:** Use high-quality content, including your webcam, microphone, and overlays.
Conclusion
Setting up for live streaming on Twitch can seem overwhelming, but with the right equipment and software, you can create a unique and engaging stream. Remember to test your stream before going live and engage with your audience for the best streaming experience. Happy streaming!
 - Go Live ...")
")


![[Everything Explained] Streaming Setup for Twitch in 2026 - OBSBOT](https://i.ytimg.com/vi/rFOnhjM4n5Y/maxresdefault.jpg "[Everything Explained] Streaming Setup for Twitch in 2026 - OBSBOT")


:max_bytes(150000):strip_icc()/A5-StreamonTwitch-annotated-af6a6beb257d44b78d5bb155b13c9e5d.jpg "How To Stream On Twitch In UNDER 5 Minutes - YouTube")


