How to Screenshot on Mac: A Comprehensive Guide
Are you struggling to take a screenshot on your Mac? Do you want to know the quickest way to capture your screen and share it with others? Look no further! In this article, we'll show you how to take a screenshot on Mac using different methods, including keyboard shortcuts, the Screenshot app, and more. Whether you're a beginner or an experienced Mac user, this guide will help you master the art of taking screenshots on your Mac.
- Why take a screenshot on your Mac?
- Understanding the basics of screengrabs
- How to take a screenshot of the entire screen, a specific area, or a designated window
- Customizing the screen capture experience with third-party apps
- Common keyboard shortcuts for taking screenshots on Mac
Method 1: Take Full-Screen ScreenShots
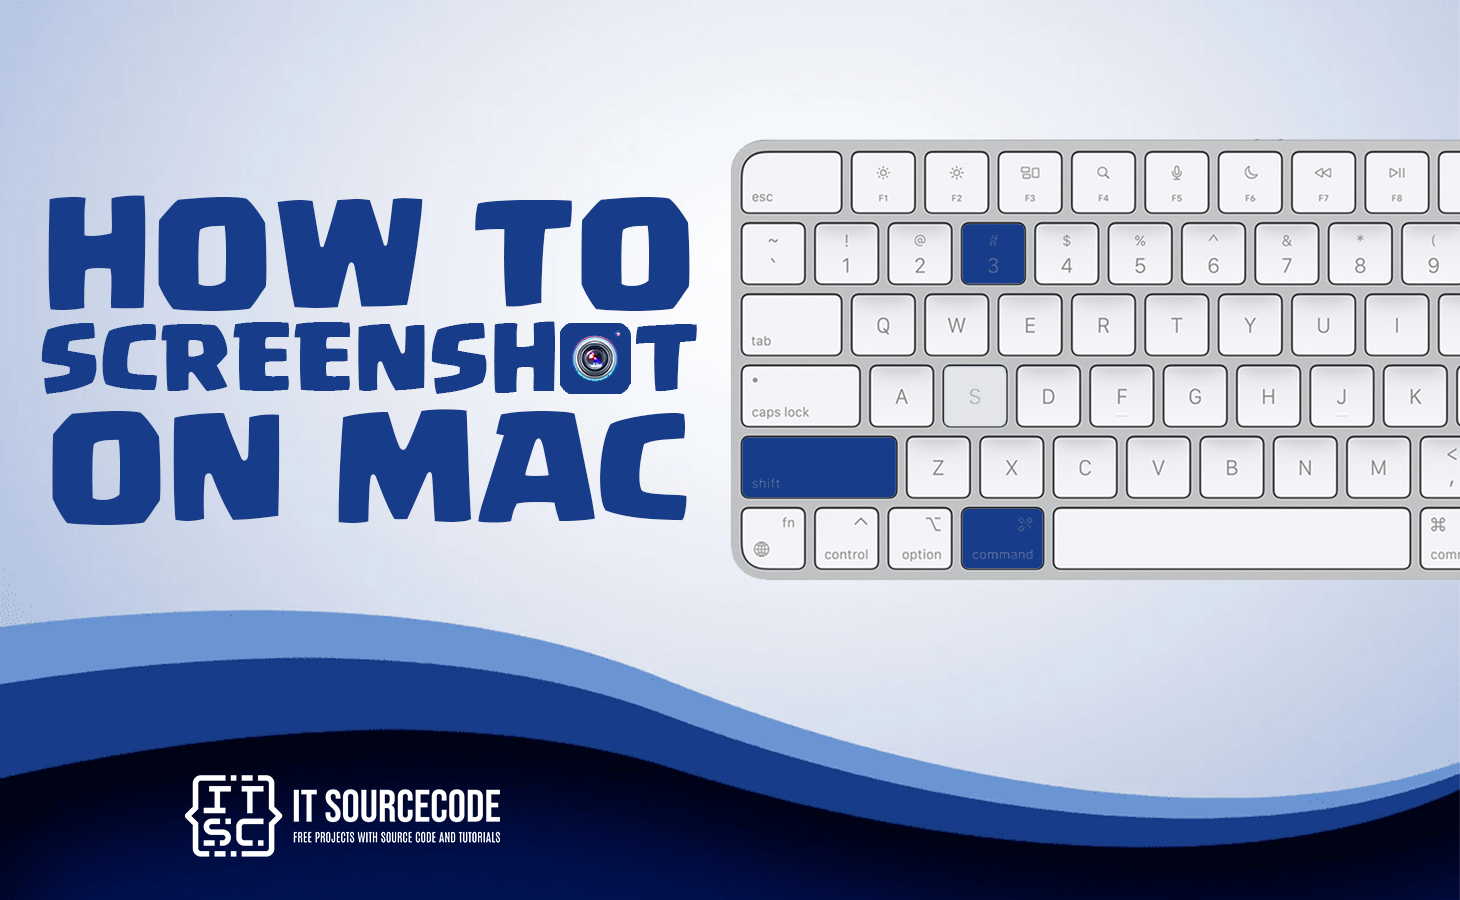
To take a screenshot of the entire screen on your Mac, press Shift + Command + 3. This will capture the entire screen and save it as a file on your desktop. You can also use the Screenshot app to take a full-screen screenshot by pressing Command + Shift + 5 and selecting the "Screen" option.
Alternatively, you can use the Grab utility tool to take a screenshot of the entire screen by launching Applications -> Utilities -> Grab and selecting the "Screen" option.
Method 2: Capture a Portion of the Screen
To take a screenshot of a specific area of the screen, press Shift + Command + 4. The cursor will change into a crosshair, and you can drag it to select the area you want to capture. Release the mouse button to take the screenshot.
Alternatively, you can use the Screenshot app to capture a portion of the screen by pressing Command + Shift + 5 and selecting the "Selection" option.
Method 3: Capture a Window or Menu
To take a screenshot of a window or menu on your Mac, press Shift + Command + 4 and select the window or menu you want to capture. You can also use the Screenshot app to capture a window or menu by pressing Command + Shift + 5 and selecting the "Window" option.
Method 4: Capture Using the Screenshot App
The Screenshot app is a built-in tool on Mac that allows you to take screenshots and screen recordings. To access the Screenshot app, press Command + Shift + 5 or use the Touch Bar (if your Mac has one).
The Screenshot app provides a panel of tools that let you easily take screenshots and screen recordings, with options to control what you capture – for example, you can set a timer delay or include the pointer or clicks.
Common Keyboard Shortcuts for Taking Screenshots on Mac
Here are some common keyboard shortcuts for taking screenshots on Mac:
- Shift + Command + 3: Take a screenshot of the entire screen
- Shift + Command + 4: Take a screenshot of a specific area of the screen
- Shift + Command + 4 + Spacebar: Take a screenshot of a window or menu
- Command + Shift + 5: Open the Screenshot app
Customizing the Screen Capture Experience with Third-Party Apps
There are many third-party apps available that can enhance your screen capture experience on Mac. Some popular options include:
- CleanShot X: A powerful screen capture tool that offers features like delayed captures, region capturing, and more.
- Monosnap: A screen capture tool that offers features like screenshot annotations, image editing, and collaboration tools.
- CloudApp: A cloud-based screen capture tool that allows you to capture and share screenshots directly from your Mac.
Conclusion
Taking a screenshot on Mac is a breeze, whether you're using keyboard shortcuts, the Screenshot app, or third-party apps. With this guide, you're now equipped with the knowledge to capture your screen and share it with others. Whether you're a student, a professional, or just someone who likes to share funny moments, taking a screenshot on Mac is an important skill to master. Happy capturing!


: Complete Methods & Tips")


")