Configuring Network Settings on Windows 11: A Comprehensive Guide
Windows 11 provides a redesigned Network & Internet settings page that allows users to manage their network connections, internet settings, and other network-related options with ease. In this article, we will take a detailed look at how to configure network settings on Windows 11, including Wi-Fi, Ethernet, VPN, proxy, and advanced network options.
Managing Network Connections
Network & Internet settings in Windows 11 allow users to manage their network connections and internet settings. Whether you need to connect to Wi-Fi, configure a VPN, or troubleshoot network issues, these settings provide all the necessary options to ensure a seamless online experience.
Configuring Wi-Fi Settings
To configure Wi-Fi settings on Windows 11, follow these steps:
- Open Settings and go to Network & Internet.
- Select Wi-Fi and toggle the switch to the On position.
- Click on Add a new network and enter the network name and password.
- Choose the type of network you want to connect to, such as a public or private network.
- Click on Connect to join the network.
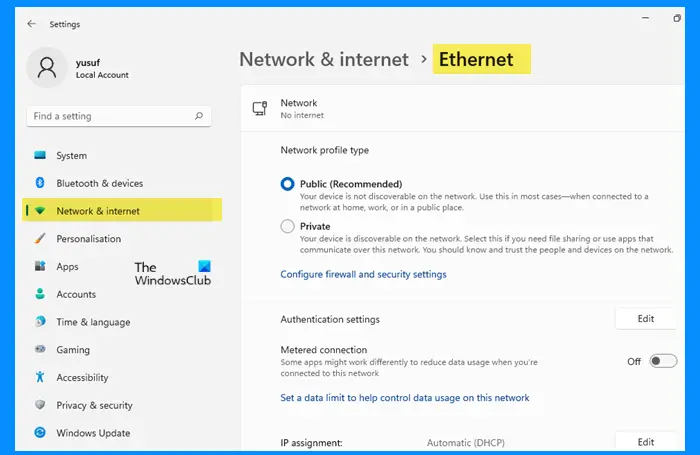
Configuring Ethernet Settings
To configure Ethernet settings on Windows 11, follow these steps:
- Open Settings and go to Network & Internet.
- Select Ethernet and toggle the switch to the On position.
- Click on Change connection properties and select the Ethernet adapter.
- Click on Properties and select the TCP/IP version.
- Enter the IP address, subnet mask, and default gateway.
- Click on OK to save the changes.
Configuring VPN Settings
To configure VPN settings on Windows 11, follow these steps:
- Open Settings and go to Network & Internet.
- Select VPN and toggle the switch to the On position.
- Click on Add a new VPN and enter the VPN name, server name, and username.
- Enter the password and click on Connect to join the VPN.
- Choose the type of VPN you want to connect to, such as a PPTP or OpenVPN.
Advanced Network Settings
Advanced network settings on Windows 11 provide additional options to customize your network settings. Some of the advanced settings include:
- Proxy settings: Allows you to configure proxy settings for your network.
- DNS settings: Allows you to configure DNS settings for your network.
- Network interfaces: Allows you to configure network interfaces, such as Ethernet or Wi-Fi.
- Network adapters: Allows you to configure network adapters, such as Ethernet or Wi-Fi.
Conclusion
Configuring network settings on Windows 11 is a straightforward process that can be achieved using the redesigned Network & Internet settings page. This article has provided a comprehensive guide on how to configure Wi-Fi, Ethernet, VPN, and advanced network settings on Windows 11. By following these steps, you can ensure a seamless online experience and troubleshoot network issues quickly and easily.


